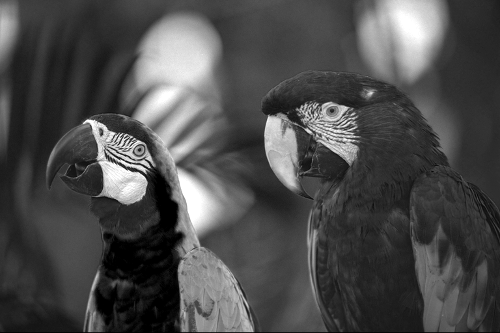
A while ago, I was implementing some image filters for an assignment at school. The objective was to measure the performance benefits of implementing those filters using Intel’s SIMD instructions.
At one point, I started wondering what the process was like to transform a color image into “black and white”. It seemed like an easy thing to do, as it would be a matter of dropping information. But, having essentially color values, I knew it couldn’t be trivial; there must have been some sort of calculation performed.
Image representation
Let’s review some of the basics. The representation of an image on the lowest level is basically a matrix (or 2-dimensional vector) of pixels, which are the dots that make up an image. Those pixels are divided into subpixels or components, each with a value. According to the representation, those values can be 8, 16 or 32 bits, providing more combinations of colors as the size increases. That metric is also called the depth of an image. Some formats may also have a fourth component called an alpha value, which is used to define transparencies (basically, how much should you be able to see when you look through the color).
There are several ways of describing what a pixel looks like. One of the most common representations is to have three subpixels, one for each color red, green and blue (RGB). The whole pixel would then look like the addition of a certain level of each color.
Let’s represent a pixel as the tuple (r, g, b). For simplicity let’s say that each value is an 8-bit positive number, which can take values between 0 and 255.
-
(0,0,0) would represent the color black; there is no color being added.
-
(255,255,255) represents the color white; it adds as much as it can of all three colors.
-
(255,0,0) represents a pure red color, like (0,255,0) and (0,0,255) do for green and blue, respectively.
Grey colors
My first question was—not knowing about color theory—what exactly was a greyscale color (or, no pun intended: what did it look like). After a simple empirical test using GIMP, I discovered that greyscale colors have the property of having the same value in all subpixels. (For example, (128,128,128) and—of course—black = (0,0,0) and white = (255,255,255) are all in the scale of greys.)
So I knew that if F was the conversion function that would take any RGB pixel and transform it into another representing a grey color, then Image(F) would be equal to (c,c,c). That is F: (r,g,b) → (c,c,c) for some c(r,g,b).
Knowing a little bit more, the question now was what should c(r,g,b) be.
Different methods
It turns out there isn’t only one method to transform a color image into a greyscale one. There are a couple of methods, and each of them has a different degree of accuracy regarding the visual information that the colors provide.
The simplest method: dropping two colors
This method involves choosing one of the subpixels and assigning its value to all three components.
In terms of information loss, it is really bad (it throws away two thirds of the image!), but it can be trivial to implement. That may be useful in scenarios where the resources are very limited, like for example in a hardware filter.
Formally: F(r,g,b) = (c,c,c), for some c in {r, g, b}
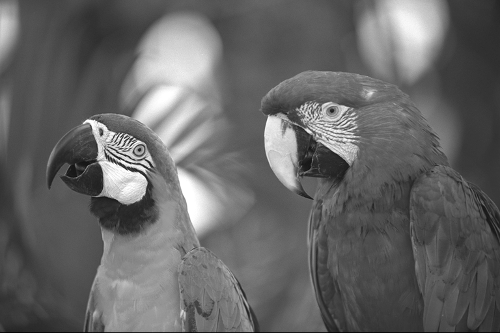
Average
This method takes the average of the three color components and assigns that result to all of them.
F(r,g,b) = (c,c,c), with c = (r + g + b) / 3
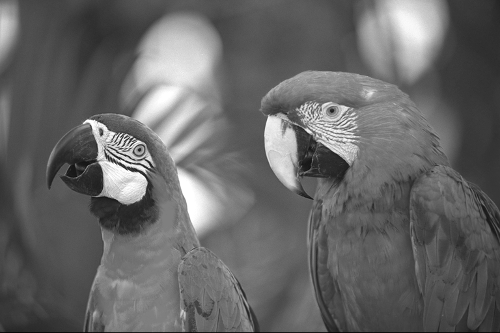
Lightness method
Instead of computing the average of the three components, it calculates the average between the stronger and weaker colors in the pixel. Then it assigns that value to all of the subpixels.
F(r,g,b) = (c,c,c), with c = (min(r, g, b) + max(r, g, b)) / 3
Weighted Average
This is the most accurate method. It is based on the response curve of the human vision. It turns out we are much more sensitive to green than any other color, followed by red and least of all blue. [1]
Based on that response curve, it assigns a weight to each color before calculating the average between them. That value is then assigned to all subpixels.
F(r,g,b) = (c,c,c), with c = 0.2126R + 0.7152G + 0.0722B
Implementation
You can find source code for my implementation of the different methods here.
The code is written in C++ and requires OpenCV, which is used to copy images from files into memory. The advantages of using that library is that it frees you from thinking about different image formats and writing code that has to interpret them. It implements structures and provides you with functions that give you access to the pixel matrix directly. (In fact, those abstractions are so good that you could use the same filter code with videos!)
Examples
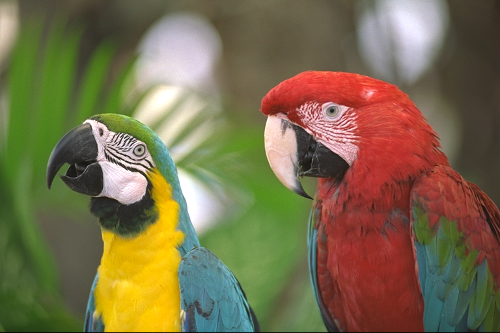
Original
Average
Lightness
Weighted sum
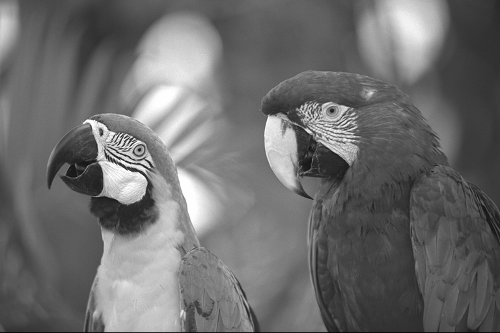
Spread
Red
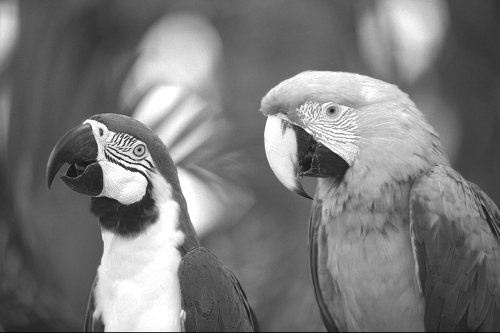
Green
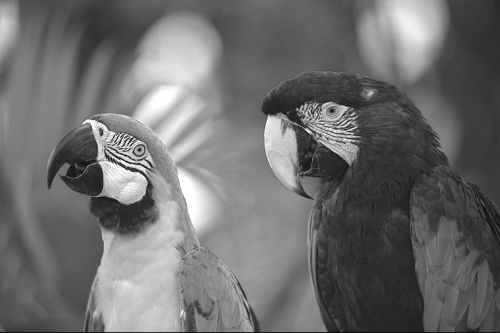
Blue
